
Painting walls can transform the look and feel of a room, but over time, wear and tear can lead to chips, scuffs, and scratches. Fortunately, you don’t always need to repaint the entire wall to restore its pristine appearance. With some know-how and the right tools, you can master the art of touching up paint, saving time and money while keeping your walls looking fresh.
Understanding Paint Types and Finishes: Before diving into the touch-up process, it’s essential to understand the type of paint and finish on your walls. Different paint formulations require specific techniques for successful touch-ups. Latex paint, for example, is common for interior walls due to its durability and easy cleanup. On the other hand, oil-based paints offer a smoother finish but require different handling.
Similarly, the paint finish affects how light reflects off the surface, influencing the touch-up process. Matte finishes are forgiving and easier to touch up, while glossy finishes can highlight imperfections. Understanding these factors will guide your approach to achieving seamless touch-ups.
Gathering the Right Materials:
To execute a flawless touch-up, gather the necessary materials beforehand. You’ll need:
1. Paint: Ensure you have the original paint or a matching color. If unsure, take a sample to a paint store for color matching.
2. Primer: Use a primer if the existing paint is damaged or if you’re painting over a different type of finish.
3. Paintbrushes: Invest in high-quality brushes of various sizes to match different surface areas.
4. Painter’s tape: Protect adjacent surfaces from accidental paint splatters.
5. Sandpaper: Smooth out rough areas before applying paint.
6. Cleaning supplies: Wipe down the area to remove dust and dirt, ensuring proper adhesion.
Preparing the Surface:
A successful touch-up begins with proper surface preparation. Start by cleaning the affected area with mild soap and water to remove dirt, grease, and debris. Once dry, use fine-grit sandpaper to smooth any rough edges or raised paint.
For larger imperfections like dents or holes, apply spackling compound and allow it to dry completely. Sand the patched areas until they’re flush with the surrounding surface. Primer may be necessary to ensure uniform paint absorption and adhesion, especially if the repair involves bare drywall or a significant color difference.
Matching the Paint: Achieving a seamless touch-up largely depends on matching the paint color and sheen. If you have leftover paint from the original project, stir it thoroughly to ensure consistency. However, if the paint has been stored for an extended period, it may have separated or changed color slightly. In such cases, test the paint on a discreet area and compare it to the existing wall color under various lighting conditions.
Alternatively, take a paint chip or sample to a reputable paint store for accurate color matching. Professionals can use color-matching technology to create a custom blend that closely matches your existing paint.
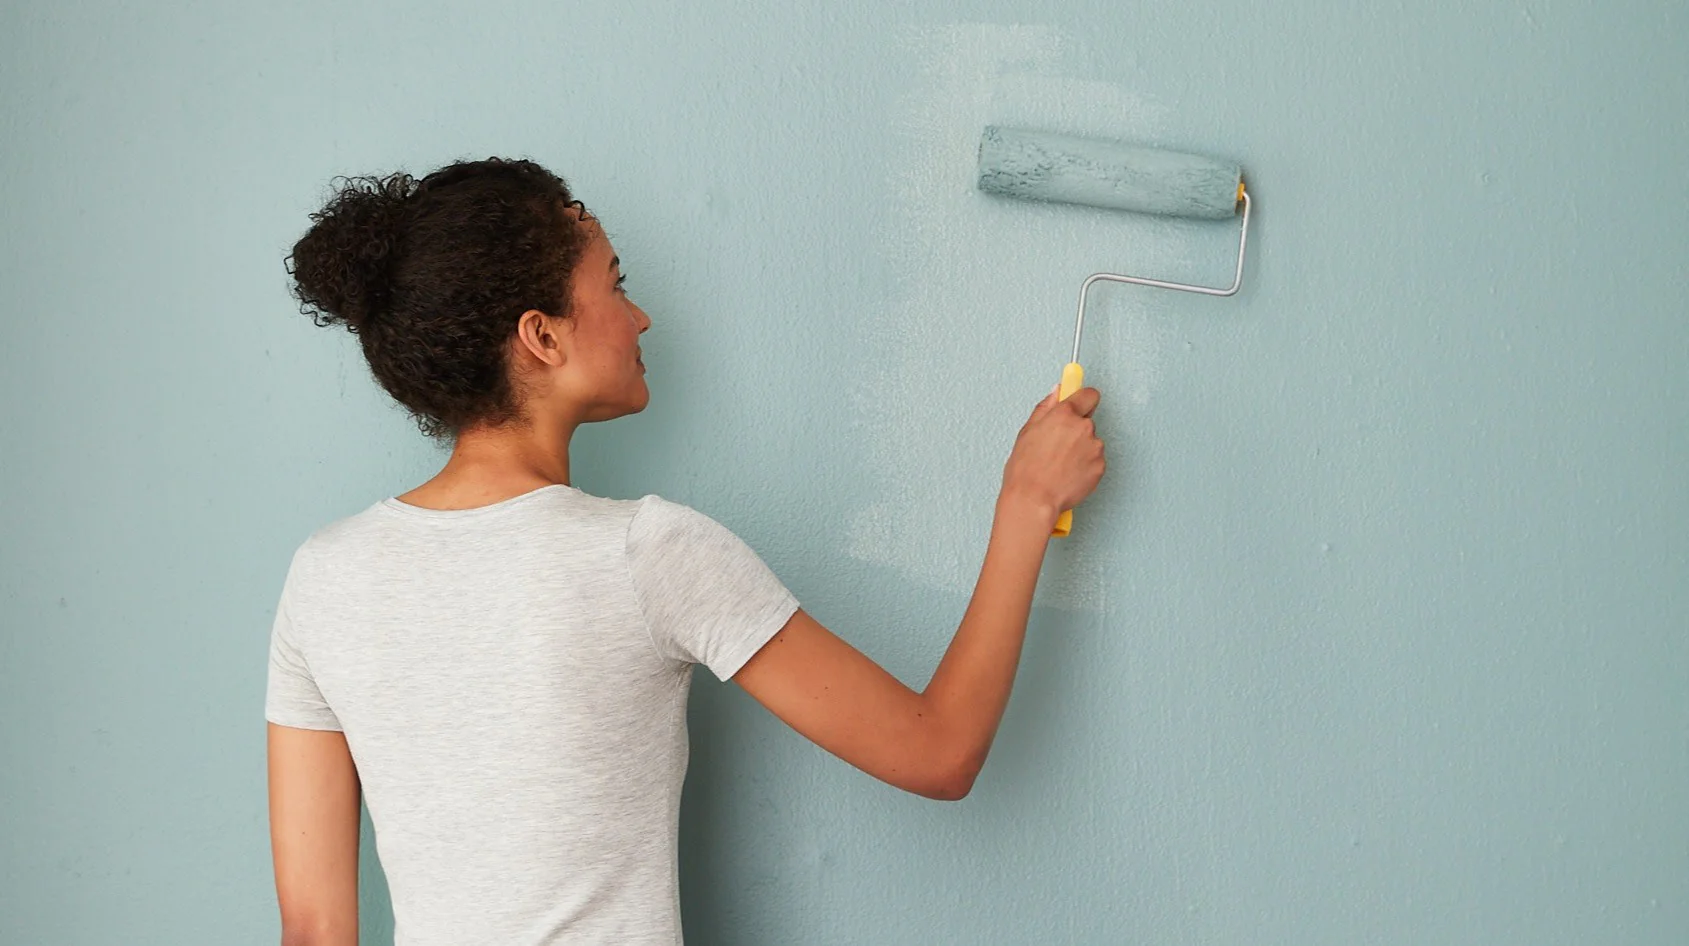
Applying the Paint:
With the surface prepared and paint matched, it’s time to apply the touch-up paint. Follow these steps for best results:
1. Use a small brush: Select a brush that matches the size of the imperfection to minimize overlap onto surrounding areas. A small, angled brush works well for precise application.
2. Apply thin coats: Rather than loading the brush with excess paint, apply thin coats to build up coverage gradually. Multiple thin coats will blend more seamlessly than a single thick layer.
3. Feather the edges: To prevent a noticeable transition between the touch-up and surrounding paint, feather the edges of the new paint into the existing surface. Blend the paint outward in all directions to create a smooth transition.
4. Allow drying time: Follow the paint manufacturer’s instructions for drying time between coats. Rushing the process can result in uneven coverage or smudges.
5. Assess and adjust: Once the paint has dried, step back and assess the touch-up. If necessary, apply additional coats or make adjustments to ensure a perfect match.
Finishing Touches:
After the touch-up paint has dried completely, remove any painter’s tape and inspect the area for imperfections. If the touch-up blends seamlessly with the surrounding paint, congratulations! Your wall looks as good as new.
However, if you notice any discrepancies in color or texture, don’t despair. Minor touch-ups may require some trial and error to achieve perfection. In such cases, patience and persistence are key. You can always revisit the area and make adjustments until you’re satisfied with the result.
Conclusion:
Mastering the art of touching up paint without repainting the whole wall is a valuable skill for homeowners and renters alike. By understanding paint types, gathering the right materials, and following proper techniques, you can restore your walls to their former glory with minimal time and effort. Whether you’re covering up small chips or concealing larger imperfections, the satisfaction of achieving a flawless touch-up is well worth the effort. So roll up your sleeves, grab your paintbrush, and breathe new life into your walls one touch-up at a time.